If you’re looking to experiment with WordPress without spending money on hosting or purchasing a domain, setting up WordPress on localhost is an ideal solution. Running WordPress locally allows you to test themes, plugins, or make changes to your site without affecting your live website. This guide will walk you through setting up WordPress on localhost using popular tools like XAMPP, MAMP, or Local by Flywheel.
What is Localhost?
Localhost refers to running a web server locally on your own computer. This creates an environment that replicates a live web server but is confined to your machine. It allows developers, designers, and bloggers to build, test, and experiment with WordPress sites without affecting the public internet.
Setting up WordPress on localhost has in fact several advantages:
- No Internet Required: You can work offline without needing an internet connection.
- Free of Cost: There is no need to buy hosting or a domain name for development purposes.
- Testing and Development: It provides a safe environment to test themes, plugins, and custom code.
- Faster Development: Local development is typically faster because it doesn’t depend on an internet connection.
Tools Needed to Set Up WordPress on Localhost
To run WordPress locally, you’ll need to install a local server environment that includes PHP, MySQL, and Apache. Here are three popular tools you can use:
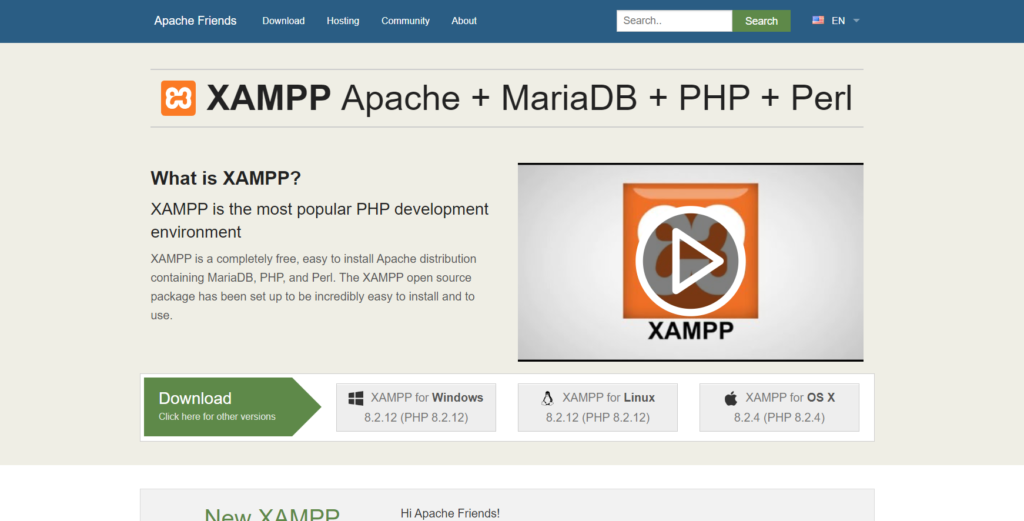
- XAMPP (Cross-Platform): A free, open-source cross-platform web server stack package developed by Apache Friends.

- MAMP (Mac, Windows): A free, local server environment tailored for Mac users, but it also works on Windows.

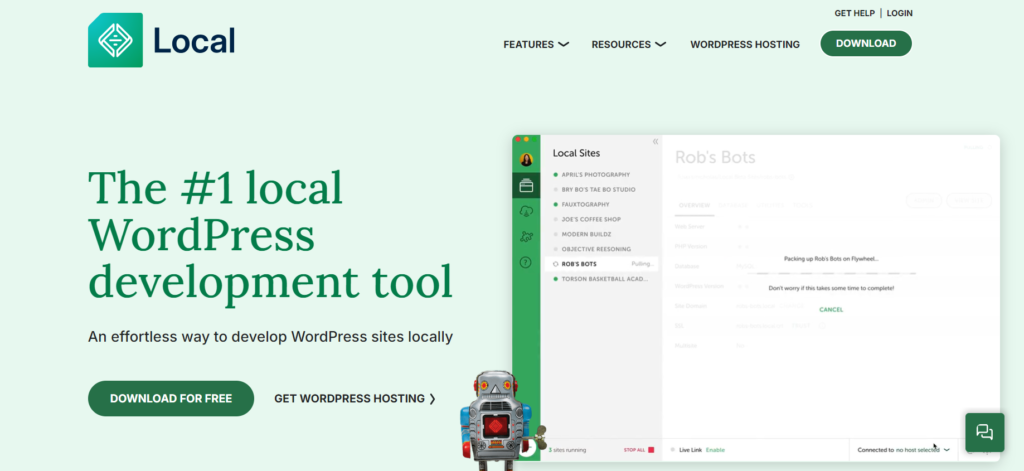
- Local by Flywheel: A free local development tool specifically designed for WordPress development.

How to Install WordPress on Localhost Using XAMPP
Here’s a step-by-step guide to setting up WordPress on localhost using XAMPP:
Step 1: Download and Install XAMPP
- Visit the XAMPP website and download the appropriate version for your operating system (Windows, macOS, or Linux).
- Run the installer and follow the setup instructions. Choose the default options for components like Apache, MySQL, PHP, and phpMyAdmin.
- Once installed, launch XAMPP Control Panel and start the Apache and MySQL modules. These are the essential services needed to run WordPress locally.
Step 2: Create a Database for WordPress
- Open your web browser and go to
http://localhost/phpmyadmin/. - Click on Databases at the top.
- Enter a name for your database (e.g.,
wordpress_local) and click Create. Leave the default collation (utf8mb4_general_ci).
Step 3: Download and Extract WordPress
- Visit the official WordPress website and download the latest version of WordPress.
- Extract the downloaded WordPress ZIP file into the htdocs folder located in your XAMPP installation directory (e.g.,
C:\xampp\htdocs\wordpress).
Step 4: Configure WordPress
- Open your browser and navigate to
http://localhost/wordpress/. - Choose your preferred language and click Continue.
- On the Welcome to WordPress screen, click Let’s go!.
- Enter the database name you created earlier (
wordpress_local), and userootas the username. Leave the password field empty (this is the default setting in XAMPP). Leave Database Host aslocalhostand Table Prefix aswp_. - Click Submit and then Run the installation.
Step 5: Complete the WordPress Installation
- Enter your Site Title, Username, Password, and Email Address.
- Click Install WordPress.
- Once the installation is complete, click Log In and use the credentials you set to access the WordPress dashboard.
Congratulations! You have successfully installed WordPress on localhost using XAMPP.
Setting Up WordPress on Localhost Using MAMP
If you are a Mac user, MAMP is another great tool to set up WordPress on localhost. Follow these steps:
Step 1: Download and Install MAMP
- Visit the MAMP website and download MAMP.
- Install MAMP by following the setup instructions.
Step 2: Start MAMP and Configure Settings
- Open MAMP and click Start Servers.
- Open WebStart page to access phpMyAdmin.
- Go to Tools > phpMyAdmin to create a new database, similar to the XAMPP setup.
Step 3: Install WordPress
- Download WordPress and extract it into the /Applications/MAMP/htdocs folder.
- Follow similar steps as the XAMPP setup to configure and install WordPress.
Setting Up WordPress on Localhost Using Local by Flywheel
Local by Flywheel offers a simpler, WordPress-centric way to set up a local development environment:
Step 1: Download and Install Local by Flywheel
- Visit the Local by Flywheel website and download the application.
- Install Local and create a new site by clicking Create a New Site.
Step 2: Configure Your Local Site
- Enter the site name and select your preferred environment settings (PHP, web server type, MySQL version).
- Local will automatically set up WordPress for you. You don’t need to download or extract WordPress manually.
Step 3: Access Your Local WordPress Site
- After the setup is complete, click Admin to access the WordPress dashboard.
- Customize and develop your site as needed.
Conclusion
Setting up WordPress on localhost is a great way to develop, test, and experiment with your site before taking it live. Whether you use XAMPP, MAMP, or Local by Flywheel, each tool provides a robust local environment for WordPress development.
By working locally, you save time, avoid unnecessary costs, and gain complete control over your development environment. Once you’re satisfied with your local setup, you can easily migrate it to a live server.
So, download your preferred tool, set up WordPress on localhost, and start building your WordPress website today!